
In early 2019, I wanted to create a YouTube channel for this blog, and the only camera I had at the time was my iPhone 6S.
I now mostly shoot with a $3500 Sony A7Siii and love it. But, that’s so expensive. I couldn’t have afforded that starting out. All I could afford was the phone in my pocket and maybe some cheap accessories for it.
How do you get the most of your iPhone’s video camera? Let’s find out!
Understand The Limitations of Your iPhone
The biggest limitation of your iPhone is the size of its sensor. New iPhone’s sensors are trending bigger, but they’re still tiny. Let’s compare the iPhone sensor to premium YouTube cameras like the Sony A7 iii or the Sony a6400.

The sensor is the part of your camera that captures light. With less light available, what type of situation do you think the iPhone will struggle with?
You guessed it! Your iPhone is really going to struggle in low light conditions. Apple has improved low-light photography in recent years by taking longer-exposure shots. But, that’s not a technique that can work with video.
The end result is your iPhone will produce noisy footage in low-light. The video will look quite bad when blown up to larger screens.

The sun will be your friend when filming with an iPhone. You may want to consider filming during the day next to a window or filming outside. Otherwise, you’re going to need to acquire quit a few lights to film your shots. Low-light shots will not go well with an iPhone. Consider a darker backdrop if you want a darker scene (it’ll reflect less light).
You Can’t Get Bokeh (Background Blur) With Your iPhone
Newer iPhones have been faking bokeh with “portrait mode.” This uses computer software to give the effect, which is not what premium cameras are doing. As good a job as it might do, it’s not the real thing, nor is it a feature I expect to become available for video anytime soon.

Bokeh really draws your attention to the subject instead of what’s going on in the background. It’s why photographers are obsessed with it. That, and society is conditioned to believe this is what a professional photograph looks like. Attractiveness is fashion, after all.
Unfortunately, if you’re recording a video with your iPhone, bokeh is going to be missing from your toolbox. Physics dictates how bokeh is achieved. There’s never going to be a commercially available lens that produces bokeh on a sensor this small.
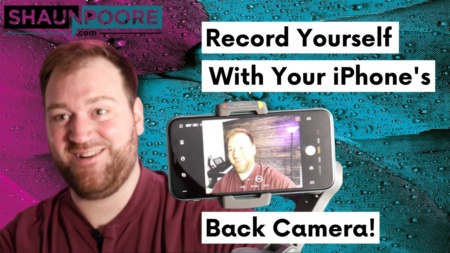
Use The Selfie Camera (Or Follow My Hacks To Utilize the Back Camera)
The iPhone’s back camera is the superior camera. This is the first conundrum all iPhone Videographers will face. If you use the superior back-camera, you can’t see yourself while filming. So what do you do?
This won’t be as big a deal as you think it is. The selfie camera is definitely an inferior camera. But, you’re already using an inferior camera by using an iPhone over a Sony a7Siii. You will be fine. You’re on YouTube, your footage just needs to be passable, not cinematic. And the selfie camera can achieve that, plus it’s dramatically easier to work with.
That said, when I started filming on my iPhone, I was obsessed with using the back camera. If you are too, then here are the 3 solutions I found to successfully use the back iPhone camera.
1) Film With Filmic Pro, Put The Filmic Remote App on Your iPad.
We’ll get to this when we get to audio, but I recommend you film with the Filmic Pro app instead of the iPhone’s built-in camera app.
If you’re already using that app to film, then buy the Filmic Remote app and put it on your iPad. Problem solved, you can now see yourself while filming. This does assume you have an iPad and are filming with Filmic Pro, however.
2) Buy The DJI Osmo Mobile 3 Gimbal
Gimbals are pretty cool in general. But, you’re not buying DJI Osmo Mobile 3 for its stabilization features (although those are awesome). You’re buying it because it will track your face from the Gimbal’s app.
That’s right! All you have to do is turn this thing on and hold up a peace sign at the camera. Your phone will then follow your movement and make sure you always stay in the frame. This will allow you to walk around, use the back camera, and make sure you’re always in the shot. It’s incredible!
3) Use Your Apple Watch
Weirdly, this is the most expensive of the 3 solutions if you don’t already own an Apple Watch. But, if you do, camera apps typically have a feature that allows you to control them from the watch. You can also view yourself in the watch to see if you’re in the frame. It works OK, it’s my least favorite of the 3 solutions though.
Record High-Quality Audio
People focus too much on video quality when they get into YouTube. Your primary focus should instead be audio quality. To get better audio quality, your primary concern should be getting a microphone as close to you as possible. If your iPhone is 6 feet away from you while filming, the audio won’t be as good.

I actually wrote an entire post on how to use your iPhone as a dedicated audio recorder. The problem with that post is if you’re using your iPhone to film, you need a 2nd iPhone to capture audio, and then you need to sync the tracks in post.
That’s a super complicated solution. The easier way would be to hook a mic to your iPhone and run a wire to your subject. I recommend getting a lav mic, TRS to TRRS adapter, if needed a TRS extension cable, and if needed a lightning to headphone jack adapter.
Record with the Filmic Pro app, or really any app that allows you to control your audio settings. Connect your microphone, open the app, and check these settings.

It’s pretty simple, just do the following, and you’re done.
- Open the app and tap the audio button.
- Select the mic you plugged into the lighting port.
- Set the Compression algorithm. PCM is a lossless format, AIFF is Apple’s lossless format. AAC is a compressed format (but still OK quality). I recommend choosing one of the lossless formats.
- Set the sample rate to 48kHz.
- Experiment with whether you like the Automatic Gain Correction and Voice Processing. It’s hard to give a definitive answer as to whether you should have these on or not.
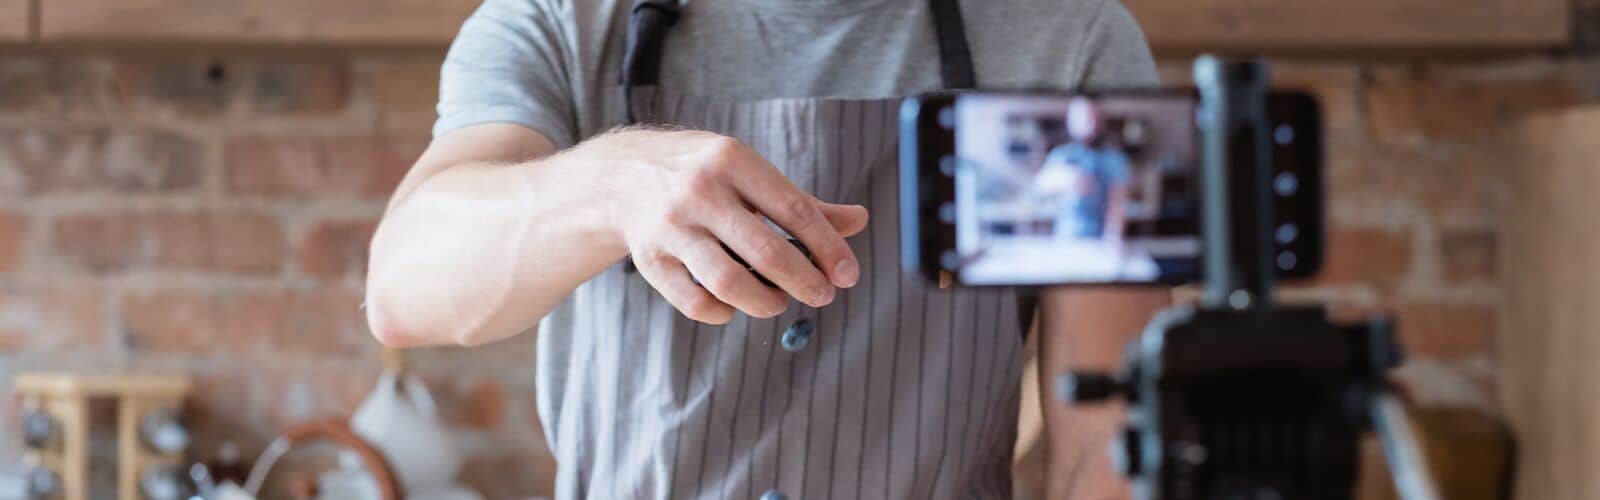
Get a Tripod
I thought this one was obvious, but it’s essential. You’ll need a tripod to hold your camera even if you’re using an iPhone.
Luckily this isn’t that tricky. You just need to buy an adapter to hold your iPhone from the tripod, then you can buy any regular tripod that you want. Or if you already bought the DJI Osmo Mobile 3 from a previous step that will work as the adapter already. You just need the tripod.
Upgrade Your Cloud Storage Plan
If you’re going to be filming a lot of 4k videos, you’ll soon need a place to store a lot of data. This article assumes you want to use your iPhone instead of buying a bunch of hard drives. If that’s the case, cloud storage is the way to go.
It’d be nice if the files automatically saved themselves to the cloud. That way you never had to worry about losing footage or doing anything. One option for doing that is to simply upgrade your iCloud storage plan. For $10/m, you’ll be able to store up to 2TB of data. This should work pretty well for most people.
If you’re somehow getting past 2TB of data, I’d suggest removing some video clips you’re done with or airdropping your files between devices. If that doesn’t work, then check out this article on cloud storage plans. Amazon charges $60 per TB per year as of this writing. That may be your best bet if you need more than 2TB and want to get the footage off of your phone.
Edit Videos With LumaFusion
You can obviously edit your videos with any video editing software you want. But, this article assumes you want to create a YouTube Channel solely with your iPhone. In that case, LumaFusion is the app for you.
The app is better suited for the iPad as it will give you more screen space to work with. But, in a pinch, it works great on the iPhone as well. It doesn’t have all the features of a Final Cut Pro, Davinci Resolve, or Premiere Pro. But, it has a lot of features. It has dramatically simplified 99% of the features you’ll ever use in a video editor. I like it so much that I use it more than any other video editor.